Our Zapier integration has two main actions that you can perform. Creating new projects, and adding recipients to a project. Our Zapier endpoints allow you to map data from a third party source (such as Google Sheets, Typeform, Mailchimp, etc) and have it automatically create a project or add a recipient in your SimpleCert® account. For the purposes of this article we will be using Google Sheets, but the functionality will be the same for almost all integrations.
New Projects
Selecting A Source
Setting up a Zap in Zapier follows a fairly simple “When this happens”…”Do this” format where you select an incoming data source and action and link it to an outgoing resource. That incoming data source can be something as simple as a Google Sheet with a column for each required field for a new project.
New projects consist of just 3 things. An existing certificate template you want to use (which will be selected from existing templates in your account), the title of your new project, and a descriptive memo that explains what the project is. All fields are required to be sent.
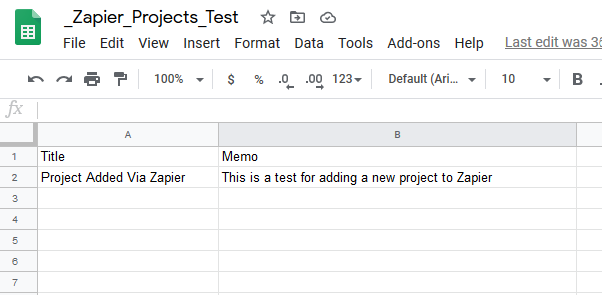
Since the certificate will be selected when we set up the Zap we just need to add a title and memo column to our spreadsheet. Also add a row of sample data that we can use to test the trigger with later on.
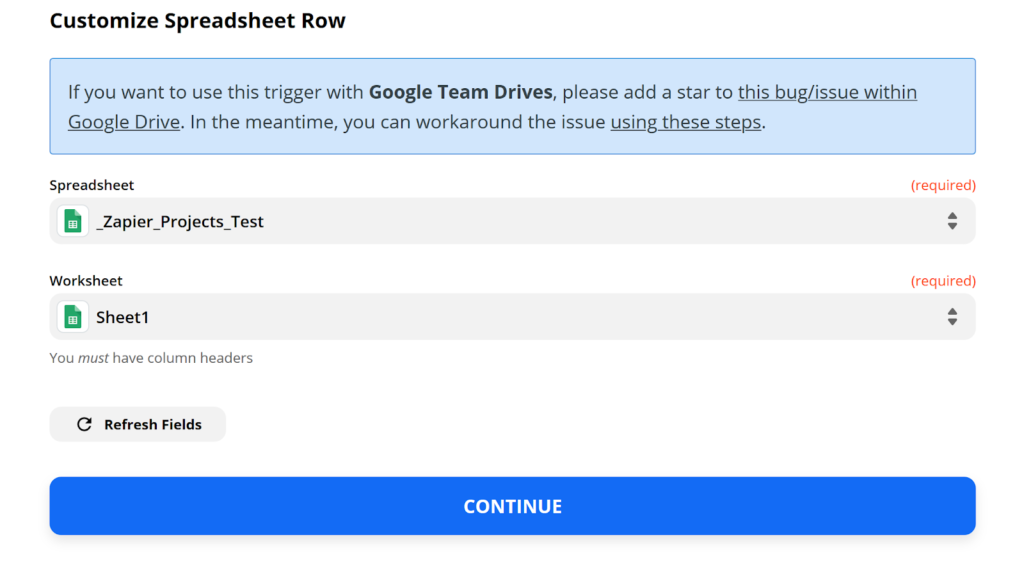
Now that we have a spreadsheet set up we can start setting up our zap. First we choose our app (“Google Sheets” in this case) and select a trigger event (“New Spreadsheet Row”). You then must log into your Google account so that it can search through your Google Drive for your file. When you find your spreadsheet Zapier will scan it for fields and worksheets. Most of the time you will just want to select the first worksheet in the spreadsheet.
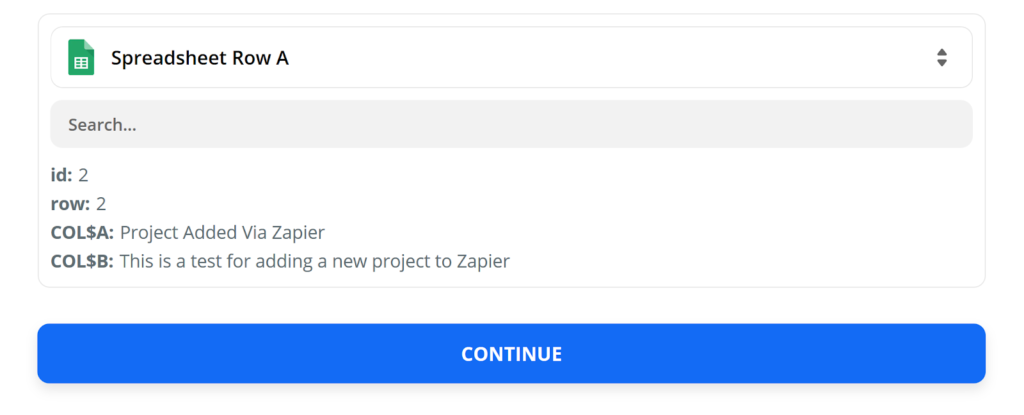
 Next you can test your trigger and it will try and get the first entry from your selected spreadsheet. Since we added that above we should get a response that looks like this.
Selecting Your Outgoing Resource
Now that the source is set up we need to tell Zapier what to do with our new data when we get it. Search for SimpleCert® as your app and select it, then choose the “Add Project” action event.
Next we need to attach your SimpleCert® account to this Zap by adding it to the selector on the page and logging in with your username/password.
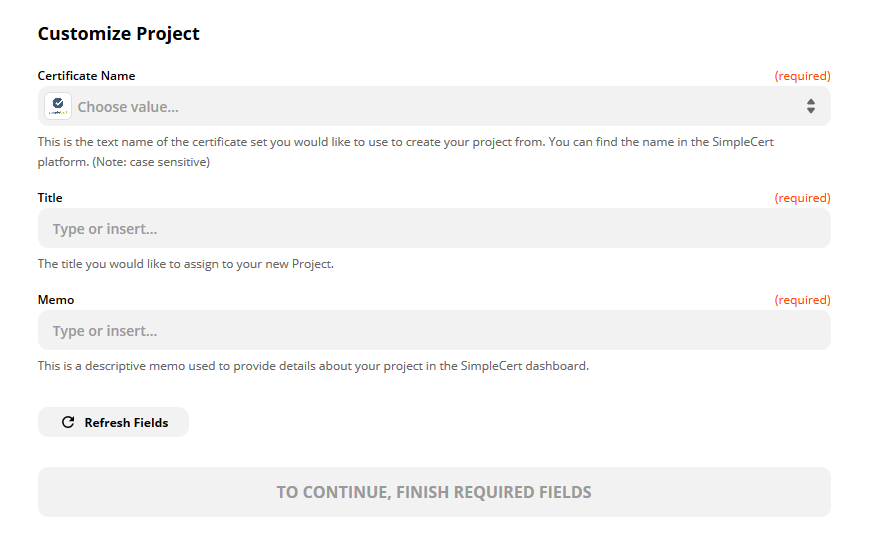
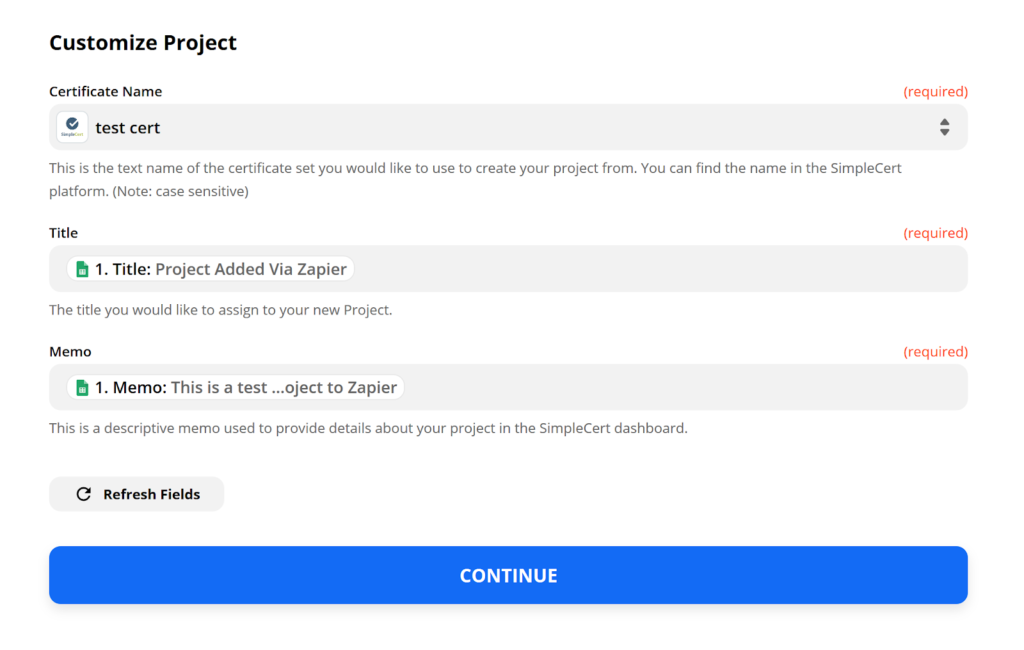
Once you are logged in you can move on to customizing the project. This will let you map the fields that were found in the source spreadsheet from Google and let you select a certificate that is found in your SimpleCert® Account. Both the “Title” and “Memo” fields should show a list of columns from your spreadsheet. Select the appropriate ones and click Continue.
You are now done with all of the setup and can run a “Test”, but that test is going to test the zap and send actual data to SimpleCert®. So that test will create an actual project in your account that you may want to log in and delete. Once you are ready you just need to name your zap (scroll up and it is edible in the top left of the screen) and then you just need to turn your zap on (top right corner of the page or the tab at the bottom of the screen).
You can test to see if it is working by going to your Google Sheet and adding a new row with a new project title and memo, and then close your spreadsheet. It may take a few minutes to process and if the spreadsheet is open it may not process until it is closed.
Adding a Recipient
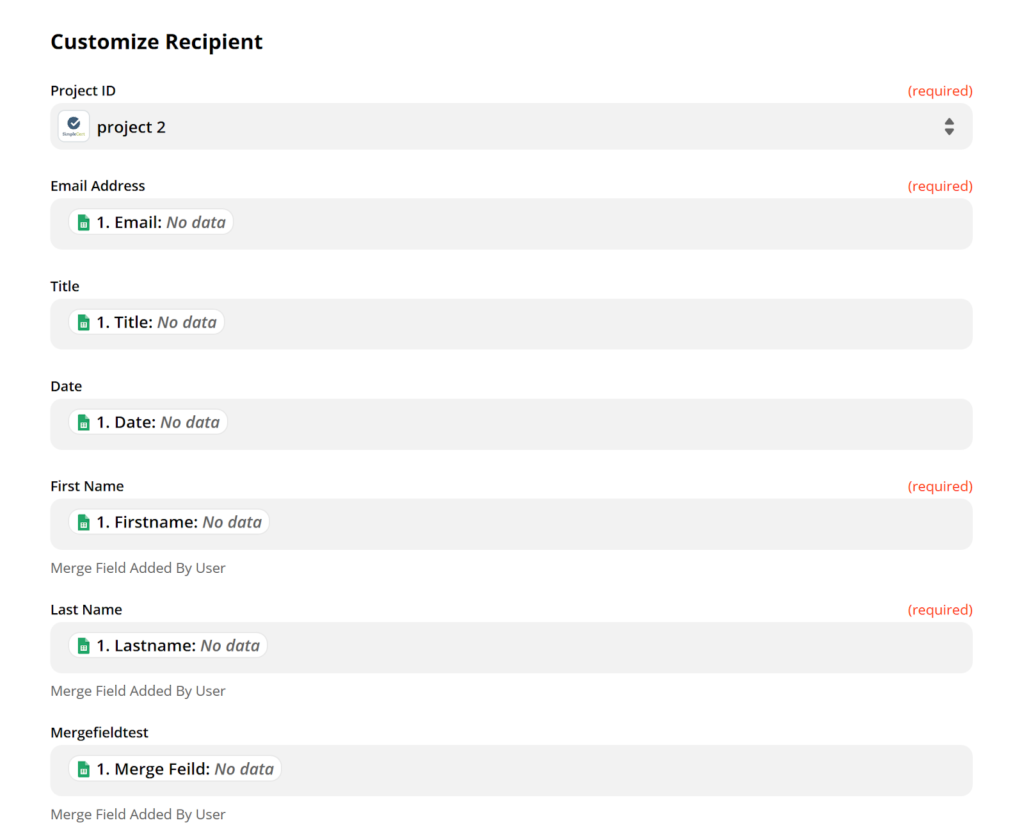
The process for adding a new recipient to a project is exactly the same as the process we went over above with one important distinction. Since you are allowed to change the fields on your certificates and add merge fields the list of fields required from your Zap can change. You may have a single “First Name Last Name” field or you may have separate “First Name” and “Last Name” fields. You also may have new merge fields added to your project that will require you to add matching data in your spreadsheet.
The first field is going to be your “Project ID”. That is a selector that grabs from account and lets you select a project. The project fields get set when you first create your project based off of what is in your certificate template. If you edit your template after creating your project your fields will not be changed. In that case you will need to create a new project first.
When you pick your project it will update all of the available fields and change them to what that specific project needs. Select the matching spreadsheet rows the same as you did when adding a project.
Continue testing and finalizing your Zap the same way we did in the Add Project Zap.
Other Considerations
Now that your Zap is set up we should be seeing the data come into your actual account. When adding a new Recipient this means that as soon as a row is entered in the spreadsheet it should create the recipient and automatically email them a certificate. If you don’t want those recipients to automatically get sent and approved, you could simply set the Zap to a second worksheet in your spreadsheet, and then copy them from the first worksheet over to the second sheet when you are ready to send. This can be automated with buttons and scripts using Google Sheets code editor.
If something goes wrong with your Zap you should be able to find details as to why in the Zapier Error console or Task history.

